Are you considering upgrading the flooring in your home to beautiful wood floors? Wood flooring can add warmth, elegance, and value to any room. However, the process of installing wood floors can be daunting if you’re not sure where to start. In this guide, we will walk you through everything you need to know about wood flooring installation for floors in your home.
Understanding the Different Types of Wood Floors
When embarking on the journey of selecting wood flooring for your home, it’s vital to familiarize yourself with the array of options available. The spectrum of wood floors includes solid hardwood, engineered wood, and laminate, each offering distinct benefits tailored to different preferences and requirements.
Solid hardwood, crafted from a singular piece of wood, stands out for its durability and the ability to be refinished multiple times, ensuring longevity. This type of flooring is highly sought after for its classic, timeless appeal and the way it can be rejuvenated to look new after years of wear.
Engineered wood presents a versatile choice, constructed from several wood layers topped with a hardwood veneer. This structure provides enhanced stability and resistance to changes in temperature and humidity, making it a suitable option for various areas in the home, including basements and over concrete slabs.
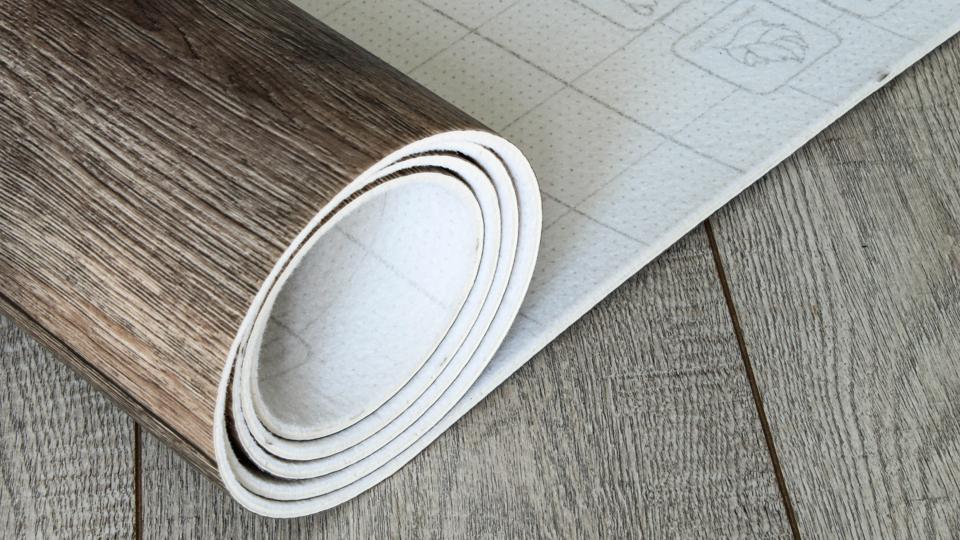
Laminate flooring, although not made from real wood, offers an affordable and practical alternative that convincingly replicates the appearance of wood floors. Its durability and ease of maintenance make it an appealing choice for busy households or areas with high foot traffic.
Each flooring type comes with its unique installation requirements and maintenance needs, emphasizing the importance of selecting the right option based on lifestyle, budget, and the specific characteristics of your home. By understanding these distinctions, homeowners can make informed decisions that align with their aesthetic preferences and functional needs, ensuring the selection of wood flooring that not only enhances the beauty of their space but also stands the test of time.
Tools and Materials Needed for Flooring Installation
Before diving into the installation of your chosen wood floors, compiling a comprehensive list of tools and materials is crucial. The foundational tools required for this endeavor encompass a tape measure for accurate measurements, a hammer for securing nails, and a saw—preferably a power saw for efficiency—to cut the wood planks to the correct size. A level is indispensable for ensuring your floor’s evenness, while a pencil is necessary for marking precise cuts. Prioritize safety by donning goggles to protect your eyes from dust and gloves to safeguard your hands during the handling of tools and materials.
The materials you’ll need are contingent on the type of wood flooring you’ve selected. For instance, underlayment is essential for creating a smooth, level base beneath your floors and can also provide soundproofing and moisture protection. The choice between adhesive, nails, or staples for securing the flooring will depend on the specific installation method recommended for your flooring type. It’s also wise to have finishing products on hand, such as sealants or stains, to complete the installation process and protect the beauty of your wood floors.
Remember, the quality of your tools and materials can significantly influence the outcome of your flooring installation. Opting for high-quality items may involve a higher initial investment but can lead to better results and longer-lasting floors. As you gather your tools and materials, consider the scope of your project and any unique challenges your space may present to ensure you’re fully prepared for the installation ahead.
Preparing Your Home for New Flooring
Getting your home ready for new wood flooring installation is a crucial step that should not be overlooked. Start by clearing out the space; this includes removing furniture, rugs, and any other items from the area where the flooring will be installed. Next, tackle the existing flooring. Depending on what’s currently in place, you may need to remove old carpet, tiles, or even an old wood floor. Ensure that you carefully follow proper removal techniques to avoid damaging the subfloor.
Once the old flooring is out, thoroughly clean the subfloor. This is a good time to repair any damages or address any issues like squeaks or uneven areas. A clean, level subfloor is essential for a smooth installation process.
Another vital step is acclimating your wood flooring to your home’s environment. Wood is sensitive to temperature and humidity changes, so allowing the planks to adjust to the room’s conditions is critical for preventing future warping or gaps. Depending on the type of wood and the manufacturer’s recommendations, this process can take several days.
Lastly, check the room’s humidity and temperature. Maintaining a stable environment not only helps during the acclimation period but also preserves the integrity of your wood floors over time. By taking the time to properly prepare your home, you’re laying the groundwork for a successful wood flooring installation that will enhance the beauty and comfort of your living space for years to come.
The Step-by-Step Process of Installing Wood Floors
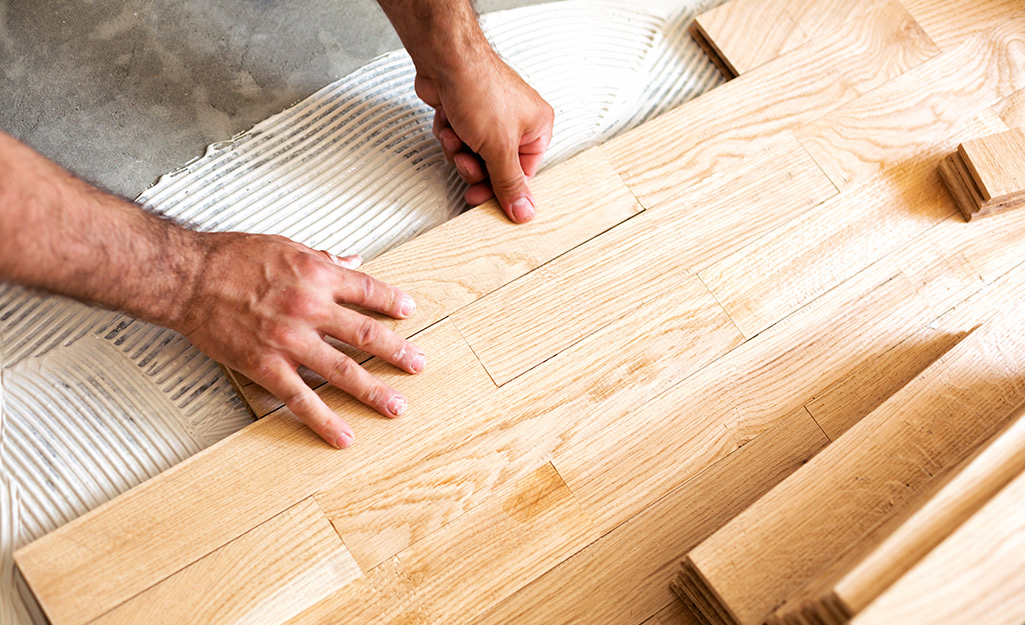
The installation journey begins with properly placing the underlayment on the subfloor, ensuring it’s smooth and correctly positioned. Following the guidelines provided by the wood flooring manufacturer, initiate the laying of the first plank at the corner of the room. It’s critical to align it perfectly to guarantee a straight and professional-looking installation. Secure the initial plank and continue with subsequent planks, gently using a tapping block and rubber mallet to fit each piece snugly together.
As you progress, pay special attention to maintaining an expansion gap around the room’s perimeter. This gap is essential to accommodate the natural expansion and contraction of the wood due to changes in humidity and temperature. Use spacers to ensure this gap is uniform around all edges. When approaching the end of a row, measure the space remaining and cut the final plank to fit, respecting the expansion gap.
Commence the next row, ensuring to stagger the joints from the previous row. This staggering not only enhances the floor’s aesthetic appeal but also contributes to its structural integrity. Continue this process, row by row, ensuring each plank is securely connected and the floor surface remains level. When faced with obstacles such as vents or door frames, mark the necessary cuts on the planks with precision and use the appropriate saw to modify them for a perfect fit.
Advance through these steps methodically until the entire floor area is covered. Remember, this meticulous process is crucial for achieving a beautifully installed wood floor that will elevate the look and feel of your home.
Tips for Cutting and Laying Wood Planks
When cutting and laying wood planks, precision and patience are key. Begin by ensuring your measurements are accurate, taking into account the necessary expansion gap around the perimeter of the room. A common pitfall to avoid is making hurried cuts; always measure twice before cutting to ensure accuracy and reduce waste.
For the most aesthetically pleasing outcome, pay close attention to how you stagger the seams of the wood planks. Ideally, seams should be spaced evenly apart and not line up across adjacent rows, as this staggering effect adds to the floor’s visual appeal and structural stability.
When dealing with complex cuts around corners, pipes, or door frames, approach the task with care. A helpful strategy is to create a cardboard template of the area that requires a cutout. This allows you to trace the exact shape needed onto the plank, ensuring a snug fit. Utilize tools like jigsaws for intricate cuts, remembering that smooth, steady motions produce the cleanest edges.
Lastly, as you lay the planks, use a tapping block and rubber mallet to gently but firmly fit each piece together. This technique helps in minimizing gaps and ensuring a level surface across the floor. Throughout this process, maintain a keen eye for detail and take your time to achieve the best possible results, remembering that the quality of installation greatly influences the final appearance and longevity of your wood flooring.
Finishing Touches for Your New Wood Floors
After the main installation of your wood planks is complete, it’s crucial to focus on the finishing touches that will elevate the overall appearance and durability of your floors. This step might include a thorough sanding to ensure the surface is impeccably smooth, followed by the application of a high-quality sealant that will protect the wood from moisture and wear. Additionally, installing baseboards or molding around the edges of your room can provide a seamless transition between the wall and the new flooring, enhancing the aesthetic appeal of the space. To maintain the pristine condition of your floors, establish a regular care routine that includes gentle cleaning methods suitable for wood surfaces. This preventive maintenance not only preserves the floor’s beauty but also extends its lifespan, allowing you to enjoy the timeless elegance of wood flooring in your home for many years to come. If you need flooring installation by ProSand in Indianapolis, check out their large selection of flooring.


